|
|
How to convert Word Document to JPG
While you won’t often need to convert a Word document to JPG format, it
can be a useful way of protecting information you plan to publish online
from being copied. With Universal Document Converter, you can control
the color depth and quality of converted files. How long the conversion
process takes depends on a number of factors, including the parameters
you choose and your computer’s system resources.
Please follow this manual to start converting of Word documents.
-
Download and install Universal Document Converter software onto your computer.
-
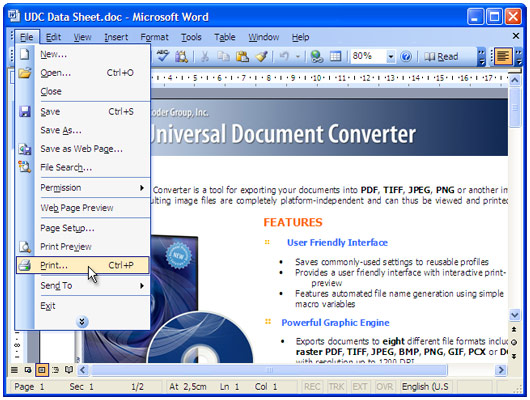
Open the document in Microsoft Word and press File->Print... in application main menu.
-
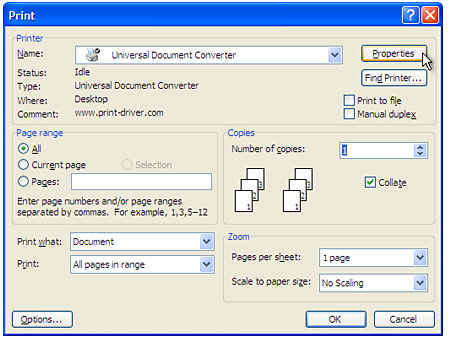
Select Universal Document Converter from the printers list and press Properties button.
-
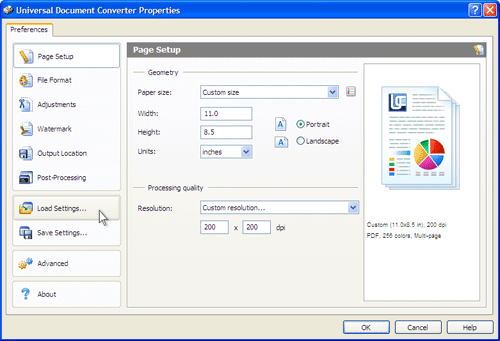
On the settings panel, click Load Properties.
-
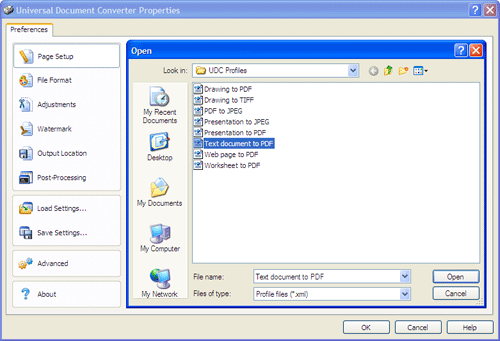
Use the Open dialog to select "Text document to PDF.xml" and click Open.
-
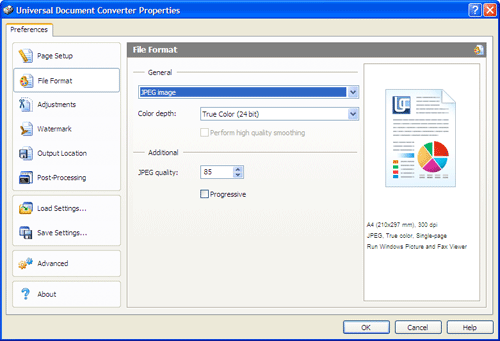
Select JPEG image on the File Format tab and click OK to close the Universal Document Converter Properties window.
-
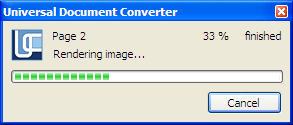
Press OK in Microsoft Word Print dialog to start converting. When the JPG file is ready, it will be saved to the My Documents\UDC Output Files folder by default.
-
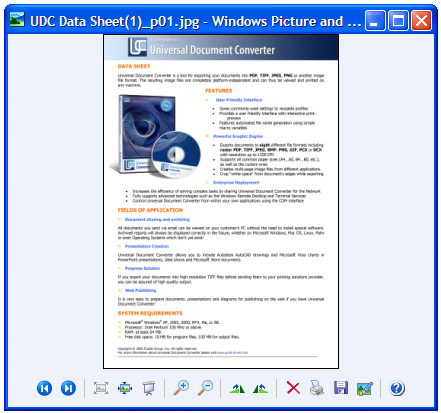
The converted document will then be opened in Windows Picture and Fax Viewer software or another viewer associated with JPG files on your computer.

No comments:
Post a Comment